Subtracting Shapes

Introduction synfig studio
Introduction
In this tutorial we are going to draw a shape and subtract another shape from it. We assume that you know how to draw a circle using the Circle Tool and a rectangle using the Rectangle Tool. If not then check Circle Tool and Rectangle Tool.
परिचय सिनफिग स्टूडियो
इस ट्यूटोरियल में हम एक आकृति बनाएंगे और उसमें से दूसरी आकृति घटाएंगे। हम मानते हैं कि आप सर्कल टूल का उपयोग करके एक वृत्त और रेक्टेंगल टूल का उपयोग करके एक आयत बनाना जानते हैं। यदि नहीं तो सर्कल टूल और रेक्टेंगल टूल की जांच करें।
Drawing the shapes synfig studio
Click the Circle Tool on the Toolbox and draw a circle on the canvas with an outline of 3 pixels. Make sure that the create region layer and the create outline layer in the Tool Options Panel of the Circle Tool are selected.
Click the Rectangle Tool on the Toolbox and draw a rectangle on the canvas with an outline of 3 pixels. Again make sure that the create region layer and the create outline layer in the Tool Options Panel of the Rectangle Tool are selected.
For the sake of this example name the circle outline layer circleOutline and the circle region layer circle in the Layers Panel. Again in the Layers Panel rename the rectangle region layer baseShape and name the rectangle outline layer baseShapeoutline. If it is not already the case then select the circleOutline layer and the circle layer and move them to the top using the green arrows in the Layers Panel. Select all layers in the Layers Panel, right-click and choose group. Name the group baseShape.
______________________________________________________________________________________________________________________________________________________________________HINDI
______________________________________________________________________________________________________________________________________
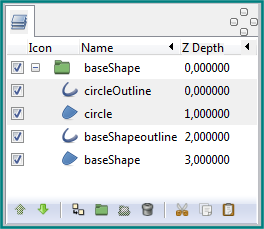
Layers Panel should look like this
Subtracting the shape synfig studio
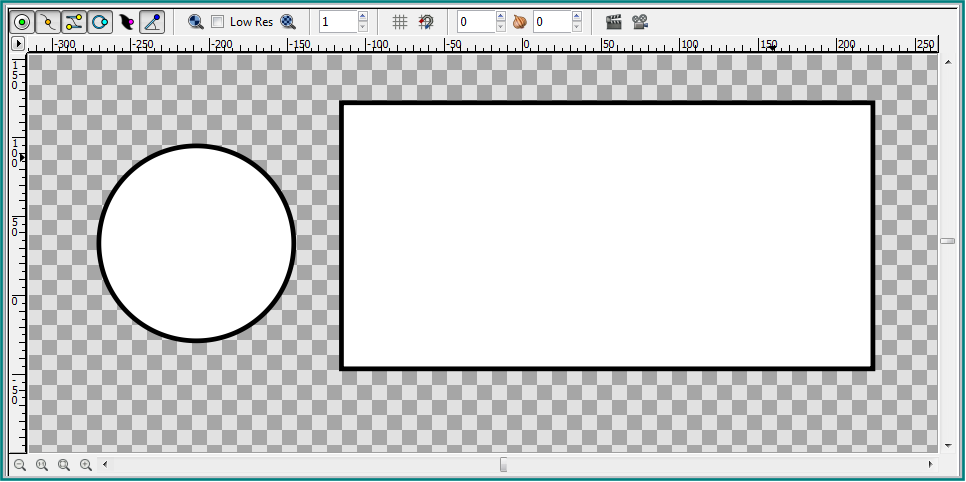
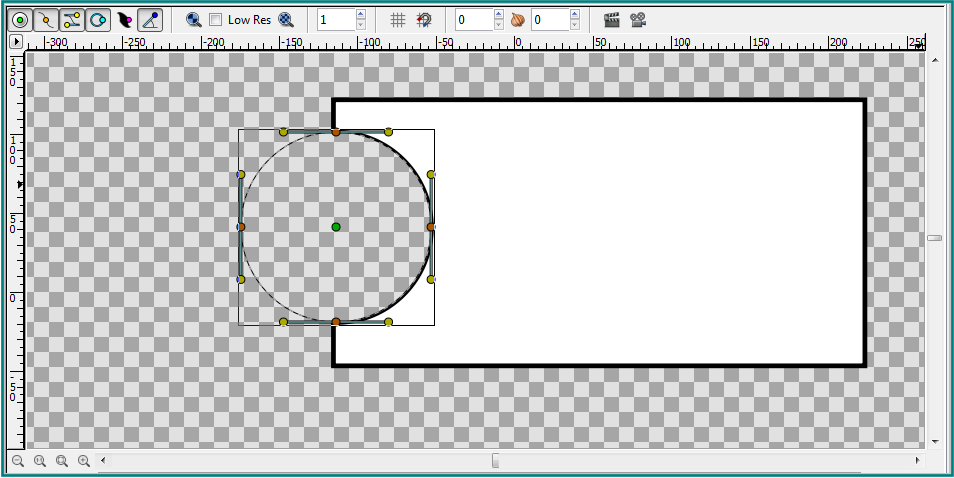
Canvas should look like this
Click on the circle layer in the Layers Panel or on the circle shape in the canvas and select the green handle in the middle of the circle and drag it over the baseShape. Release the mouse.
लेयर्स पैनल में सर्कल लेयर पर या कैनवास में सर्कल आकार पर क्लिक करें और सर्कल के बीच में हरे हैंडल का चयन करें और इसे बेसशेप पर खींचें। माउस को छोड़ें.
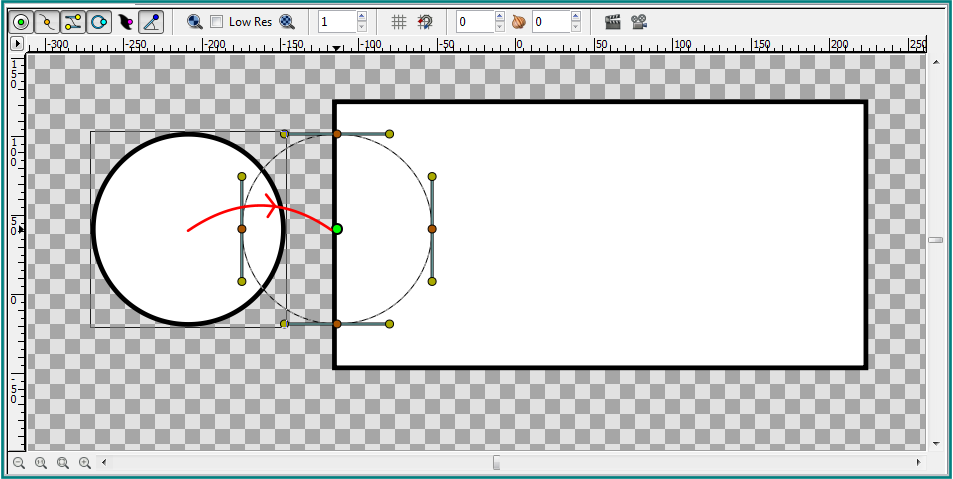
Drag the circle
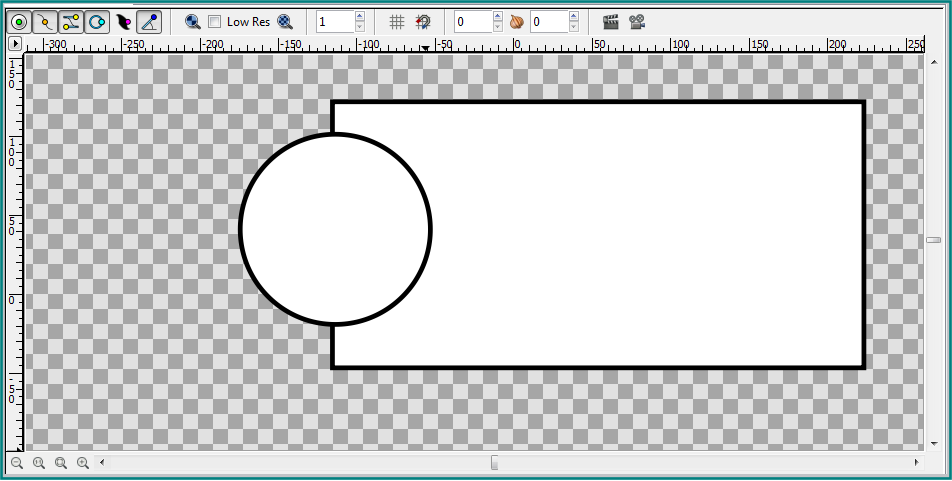
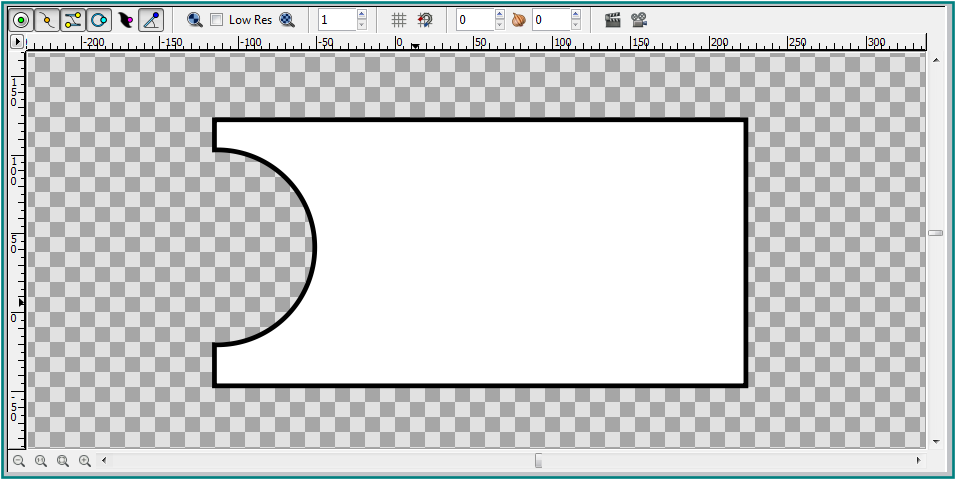
Canvas should look like this
Select the circleOutline layer in the Layers Panel go to the Parameters Panel and change the Blend Method of the circleOutline layer to Blend Method: Onto Select the circle layer in the Layers Panel, go to the Parameters Panel and change the Blend Method of the circle layer to Blend Method: Alpha Over .
लेयर्स पैनल में सर्कलआउटलाइन लेयर का चयन करें, पैरामीटर्स पैनल पर जाएं और सर्कलआउटलाइन लेयर के ब्लेंड मेथड को ब्लेंड मेथड में बदलें: लेयर्स पैनल में सर्कल लेयर का चयन करें, पैरामीटर्स पैनल पर जाएं और सर्कल लेयर के ब्लेंड मेथड को ब्लेंड मेथड: अल्फा ओवर में बदलें।

Parameters Panel with blend method of Circle layer and CircleOutline layer
सर्किल परत और सर्किलआउटलाइन परत की मिश्रण विधि के साथ पैरामीटर पैनल
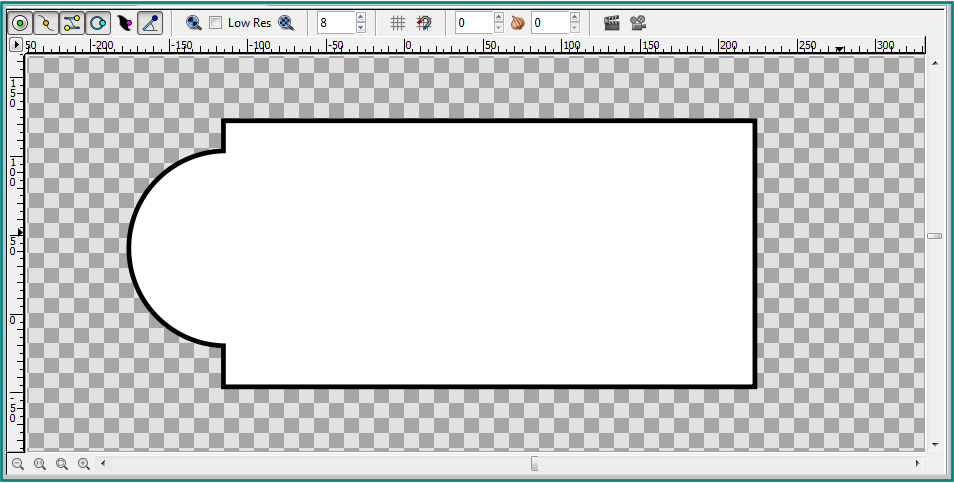
Outline Width is not the same
The circle layer was subtracted from the baseShape but the Outline Width of the cut out part varies from the Outline Width of the baseShape. To adjust this we have to change the Outline Width of the circleOutline layer. Select the circleOutline layer in the Layers Panel, go to the Parameters Panel and change the Outline Width to 6 pixels. After we adjusted the Outline Width of the circleOutline layer the circle layer was subtracted correctly from the baseShape.
सर्कल परत को बेसशेप से घटा दिया गया था लेकिन कट आउट भाग की आउटलाइन चौड़ाई बेसशेप की आउटलाइन चौड़ाई से भिन्न होती है। इसे समायोजित करने के लिए हमें सर्कलआउटलाइन परत की आउटलाइन चौड़ाई को बदलना होगा। लेयर्स पैनल में सर्कलआउटलाइन लेयर का चयन करें, पैरामीटर्स पैनल पर जाएं और आउटलाइन चौड़ाई को 6 पिक्सल में बदलें। सर्कलआउटलाइन परत की आउटलाइन चौड़ाई को समायोजित करने के बाद सर्कल परत को बेसशेप से सही ढंग से घटा दिया गया था।
synfig studio
Final image
Tip synfig studio
If we want to add a circle to the baseShape then all we have to do is change the Blend Method of the circleOutline layer from Blend Method: Onto to Blend Method: Alpha Over and change the Blend Method of the circle layer from Blend Method: Alpha Over to Converter: Composite.
यदि हम बेसशेप में एक सर्कल जोड़ना चाहते हैं तो हमें बस सर्कलआउटलाइन परत की ब्लेंड विधि को ब्लेंड विधि: ओन्टो से ब्लेंड विधि: अल्फा ओवर में बदलना होगा और सर्कल परत की ब्लेंड विधि को ब्लेंड विधि: अल्फा ओवर से कनवर्टर: कंपोजिट में बदलना होगा।
Circle added to the baseShape
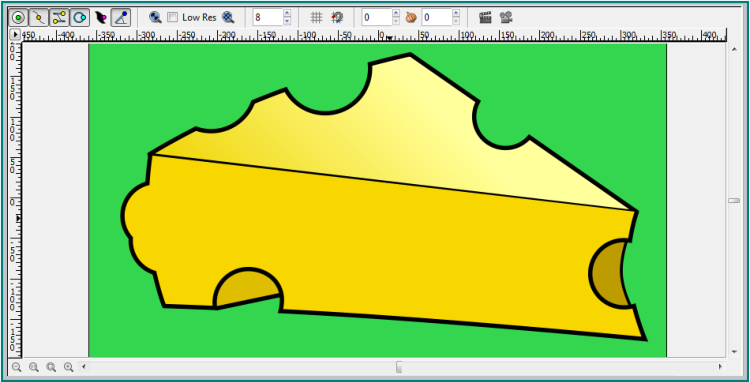
Below we can see an image of a piece of cheese that is almost entirely constructed by subtracting and adding circles to a basic underlying shape.


 synfig")


0 Comments